Support Center » samsung tizen 4.0 screen configuration manual
Samsung Tizen 4.0 Screen Configuration Manual
How to configure a Samsung Tizen 4.0 Screen for digital signage use
1: Connecting the monitor
- Connect the monitor to the network and power supply.
- Set the power switch on the back of the screen to ‘On’.
- Turn on the screen using the remote control.
2: Installation
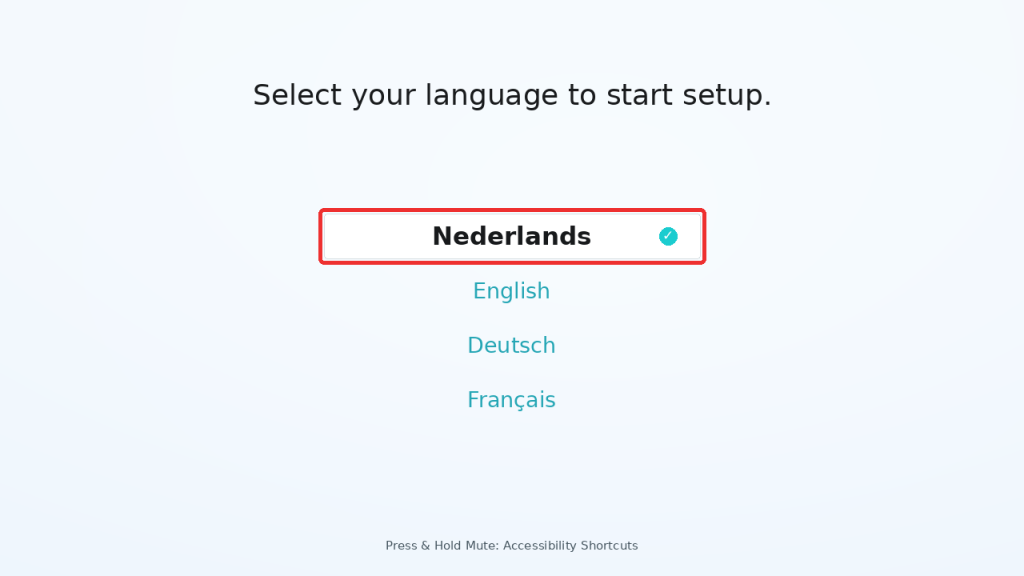
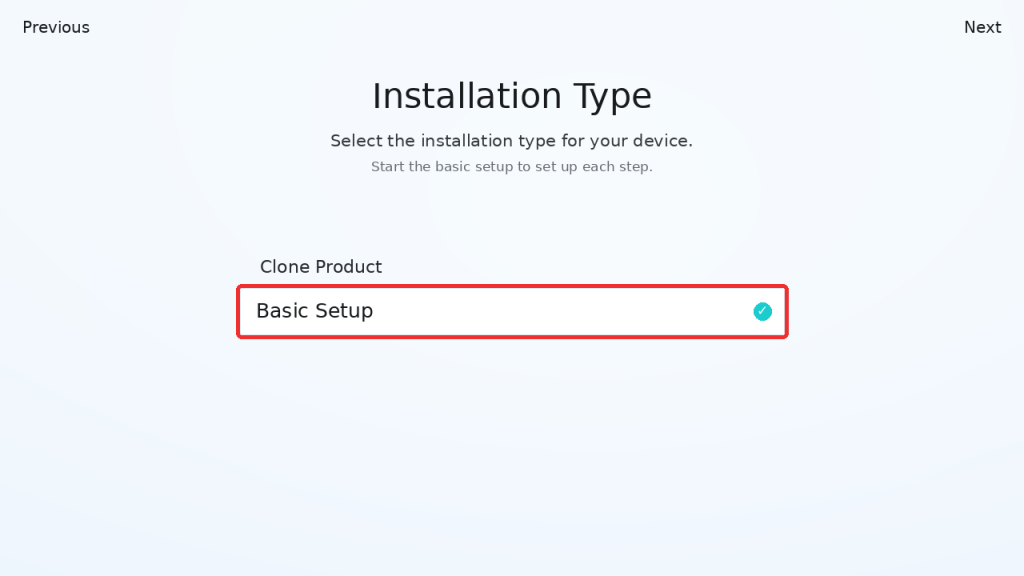
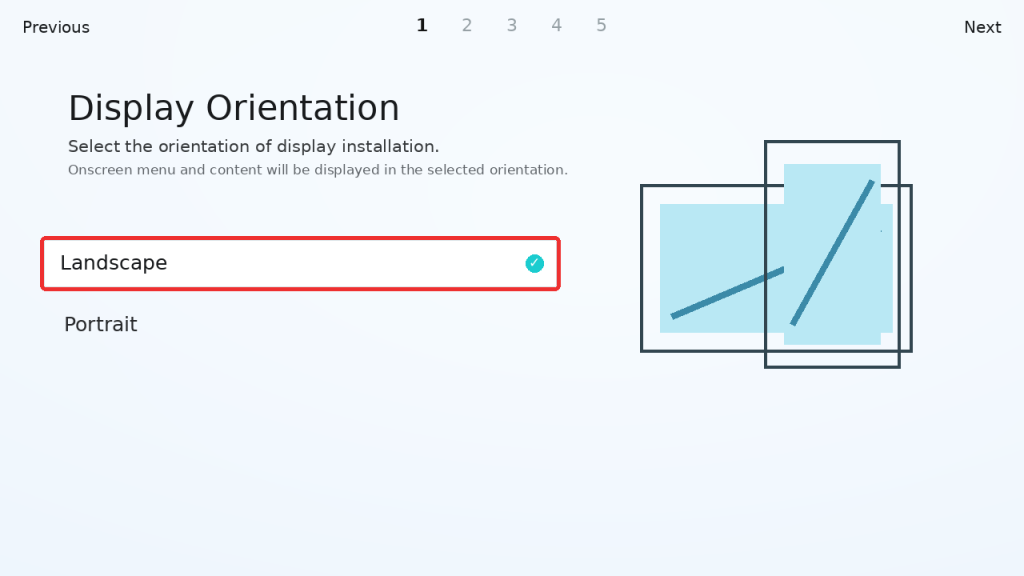
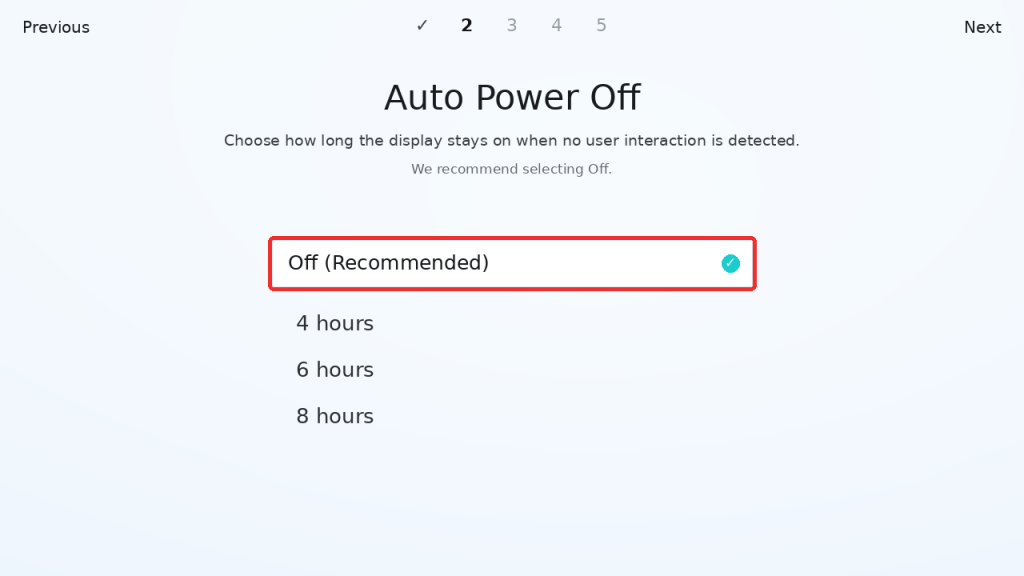
When the screen is switched on for the first time, you will automatically be guided through a setup menu. This consists of 6 steps:
- Select the desired language.
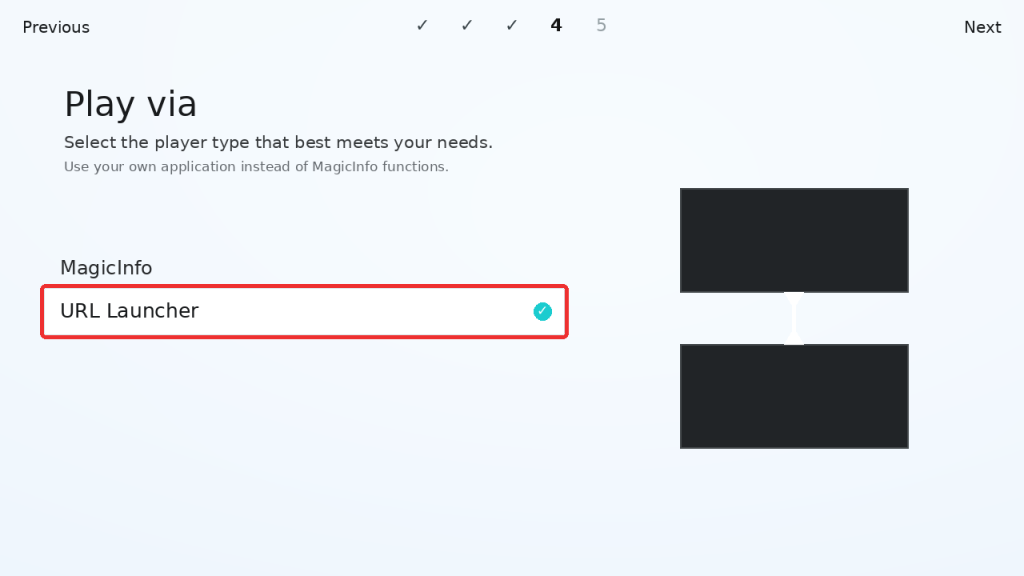
- Select (Basic Settings).
- Select landscape or portrait orientation (Landscape).
- Auto Power Off.
- Select URL Launcher.
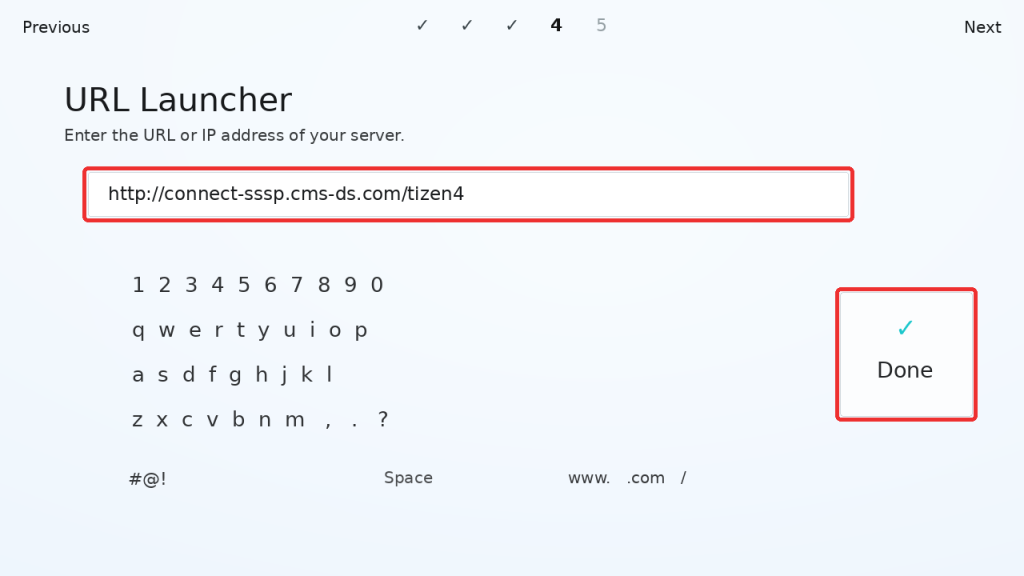
Select URL Launcher. A keyboard will appear where you need to enter the URL:
- Select ‘Done’ and proceed to the next step.
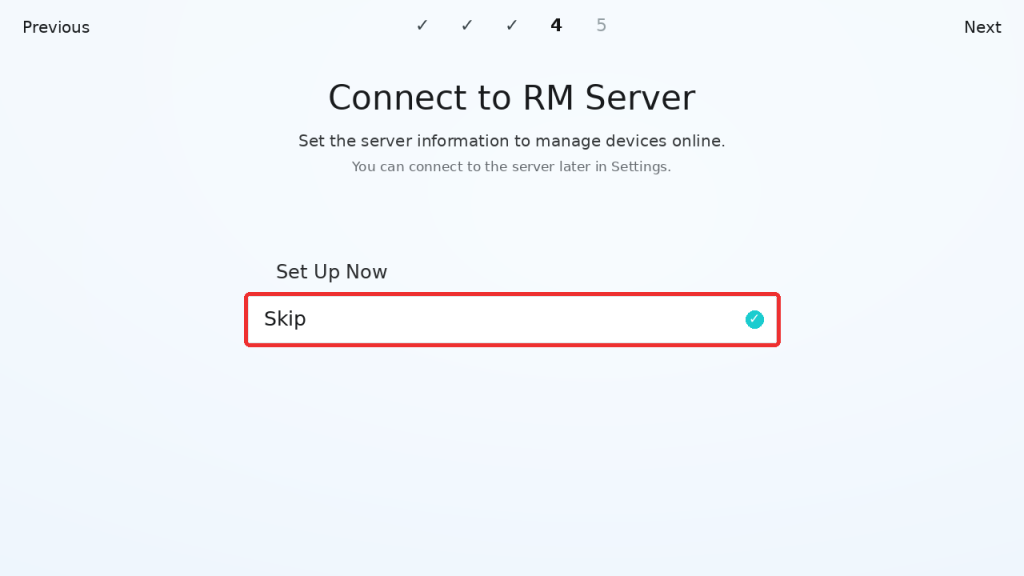
- Connect to RM Server (Skip).
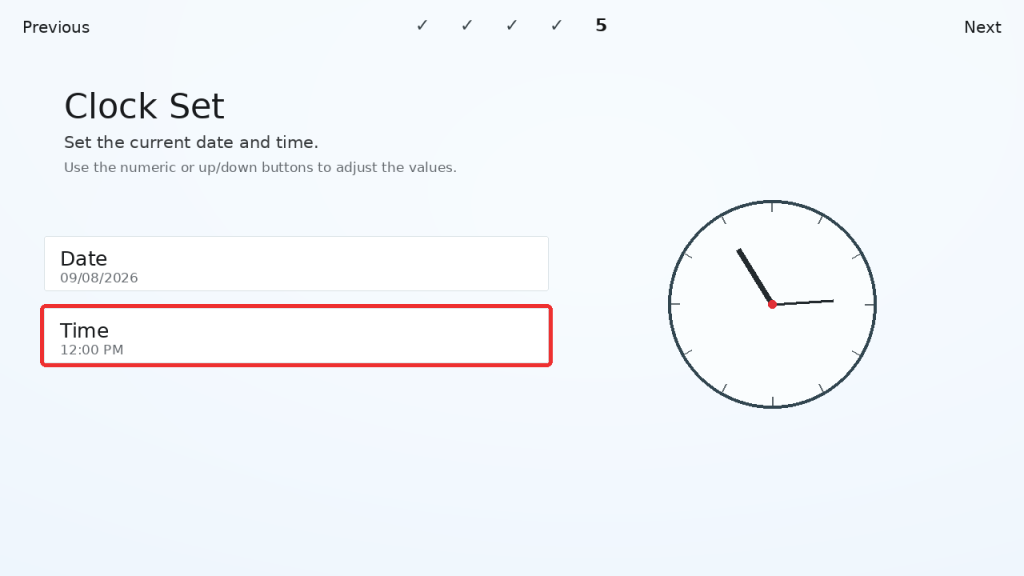
- Set the date and time.
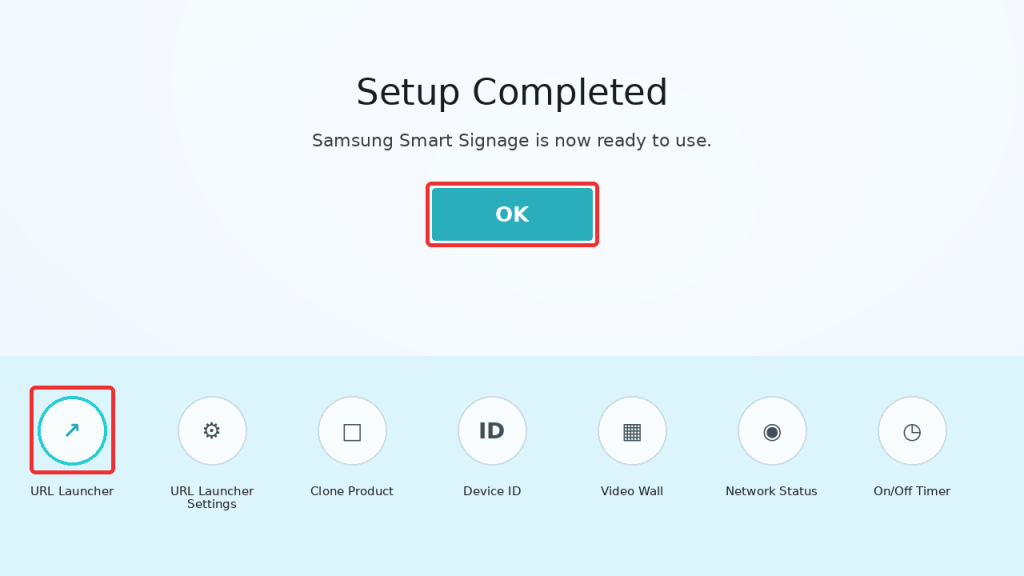
The installation is now complete. Select ‘OK’. You will now be taken to the menu shown below, or press the Home button on the remote control and then select the URL Launcher screen.
The screen will download the Tizen app and then connect to the Easyscreen server.
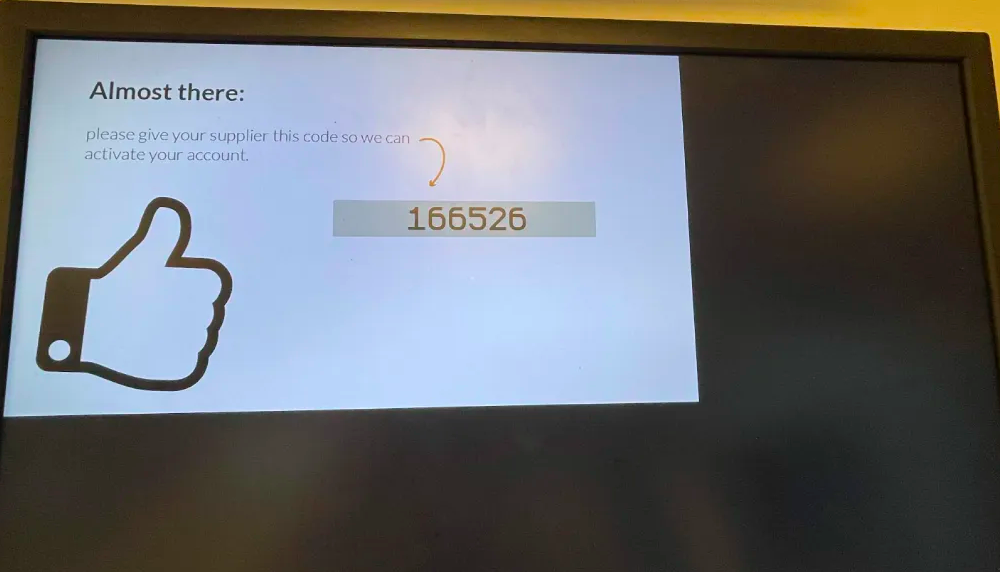
If the screen has not yet been registered, the easyscreen.tv home screen will appear. You can now view your hardware in your digital signage account and create content from there. You can find instructions on how to get started in your account at:
http://support.cms-ds.com/en/ Search for ‘Getting Started’.
Check firmware:
- Remote control > Menu > Support > Contact Samsung
- 03-08-2023: Latest firmware T-KTM2ELAKUC-2420.0
If you experience any problems, please contact your supplier.